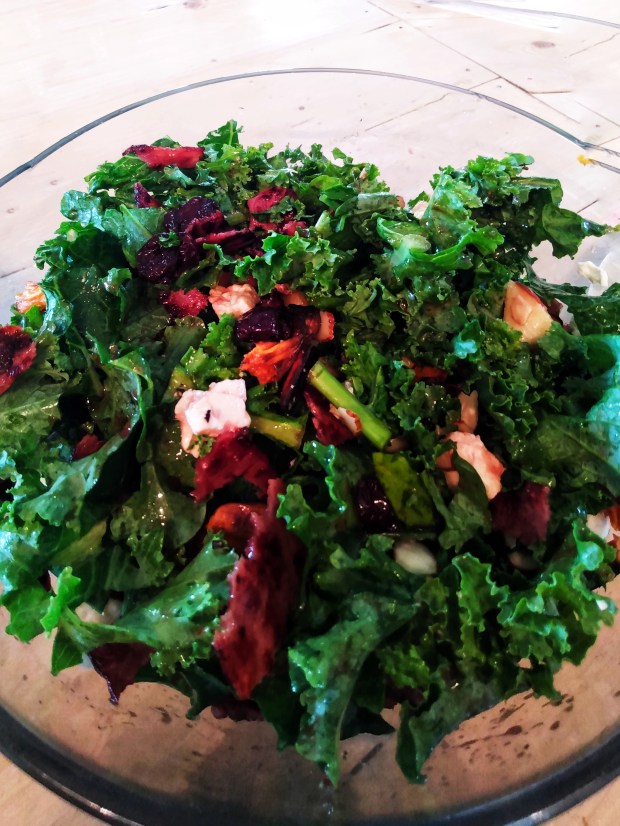
This salad incorporates all of my favorite autumn foods. Apples, sweet potatoes and, of course, kale. Now, everybody knows that kale is good for you, but do you know how eating more of it actually benefits you? You probably know that kale is rich in iron which helps transport oxygen in the blood. Kale is also, loaded with Vitamins K, A and C, which improve your skin by boosting collagen production. Likewise, this hardy green is an anti-inflammatory, loaded with antioxidants, and can lower risk of coronary heart disease, due to its impressive amount of omega-3 fatty acids. This is one leafy green that should not be missed. If, like myself, you cram as much as you can fit in the blender in the a.m., drop it into soups and stews whenever you get the chance, and still can’t get enough, then you will love this dish. Due to goitregens, a chemical in cruciferous vegetables, raw kale in large quantities can inhibit absorption of iodine, a concern for people with hypothyroidism. If this concerns you you can blanch the kale. I feel that balance is the answer,therefore I try aim consume both fresh and raw kale. Here’s what you’re going to need:
Doesn’t this look bright and lovely?
For the Salad:
All the Kale
2 apples
1/3 cup dried cherries
cubed sweet potatoes steamed
1/4 cup feta
slivered almonds
turkey bacon crumbled
For the Dressing:
1/4 c pomegranate juice
1/4 c avocado oil
3 tbs balsamic vinegar
1 tsp dijon mustard
1 tbsp honey
dash of salt and pepper
Add kale to a bowl, toss in apples, sweet potatoes, and dried cherries. Top with some feta, slivered almonds, and some bacon crumbles. Mix well. Add dressing ingredients to a shaker, shake well. Pour contents over salad. Mix thoroughly. Serve immediately.
Dive in!
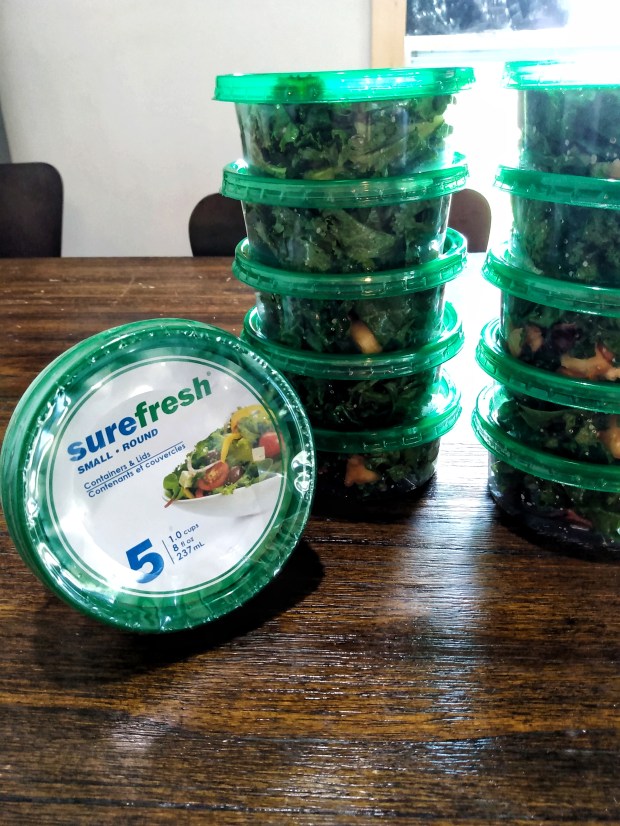
This simple delicious fall salad, will carry you through fall into the holidays, with a healthy side dish for any meal. You can also use for meal prep, containerize, and stick in the fridge to grab on the go.
You can buy these containers at the Dollar Tree in a 5 pack.
We’d love to hear from you! Try this recipe soon and let us know what you think in the comments and make sure to ring us on Instagram with ‘#CanIGetARamen’!
Let’s talk about rosemary. While living in Florida, we took this lovely little herb for granted; it just grew so easily. And everywhere. Now that we are up north again, I am truly struggling to keep a single plant alive, other than during the hottest months of summer, and even then, have been minimally successful. I’m not claiming to have a green thumb, quite the opposite, but can usually manage to keep a few herbs growing in the windowsill, for cooking. Lately though, I am pining for my rosemary, and with winter looming, my Florida life in general. I’ve learned to keep a jar of dried rosemary around, for emergencies, and with that and some orange marmalade, have tossed together some butter cookies that taste like home to me. If you’ve never baked with fruit and herbs together before, using citrus with most herbs is a sure bet. I love using rosemary as often as possible because it is so beneficial to brain and eye health. Did you know that just the smell of rosemary alone can improve your memory? Adding savory herbs to your baked goods is an intelligent and delicious way to reap the health benefits that these plants bring to the table. I’ve chosen orange to compliment the rosemary, but you could choose lemon, lime, grapefruit…whatever you have on hand. For me, these cookies taste of nostalgia and sunshine, and will have to hold me over until I get back home. Ready to give them a try? Here’s what you’ll need:
For the Cookies:
2 3/4 C. flour
1/4 tsp. baking soda
1/4 tsp. cream of tartar
1/2 c. sugar
1/3 c. powdered sugar
1/2 butter
1/3 c. coconut oil
1/4 c. coconut milk
1 egg
1 tbsp water
1/2 tsp. kosher salt
1 tsp. butter flavoring
Mix dry ingredients in one bowl. Mix sugars, oils and butters in a second bowl. Combine with dry ingredients, adding water milk, egg, salt and butter flavoring. Mix well, then form into a dough ball, rolling out to 1/2 inch thickness then, cut shapes out and bake in a 350 degree oven for 12-15 minutes. Dip in the glaze while still warm and top with rosemary, and a bit of sea salt.
For the Glaze:
1/2 c. powdered sugar
2 tbsp. orange marmalade
1/8 c. coconut milk
Combine ingredients in bowl, set aside until cookies come out of oven. Glaze will harden when the cookies are completely cooled.
Don’t hesitate to drop us a line when you try these cookies and let us know what you think. Do you love mixing savory herbs into your baking? We’d love to hear from you!
Eliot Ness, a local legend is immortalized in this small Penn-State township.
Courtesy of The Eliot Ness Festival.
Woven into the history of Coudersport, PA is a well known crime fighter, you may have heard of, named Eliot Ness. Ness was born in Chicago and achieved recognition for being the courageous, highly principled, yet untouchable lawman that has inspired countless books, movies and theatre productions to date. Best known for bringing down the arguably most famous crime boss of all time, Alphonse Gabriel Capone. Ness also co-wrote his memoirs, titled “The Untouchables”, in Coudersport, alongside Oscar Fraley in 1957. You can visit the historic ‘Hotel Crittenden’, where much of the book was created, while strolling the streets of this picturesque little town. While the book found limited success, it caught the eye of actor Desi Arnaz, who spun it into a wildly successful 1959 movie, and then later that same year into a hit TV series of the same name. If instead you are intrigued by the story of the real Eliot Ness, from the perspective of local townspeople, who knew him well, stop into Olga Gallery, Cafe & Bistro and pick up an autographed copy of this book:
Behind The Badge by Paul W. Heimel, a local resident, who has been called “The Dean of Eliot Ness researchers” by Vanity Fair
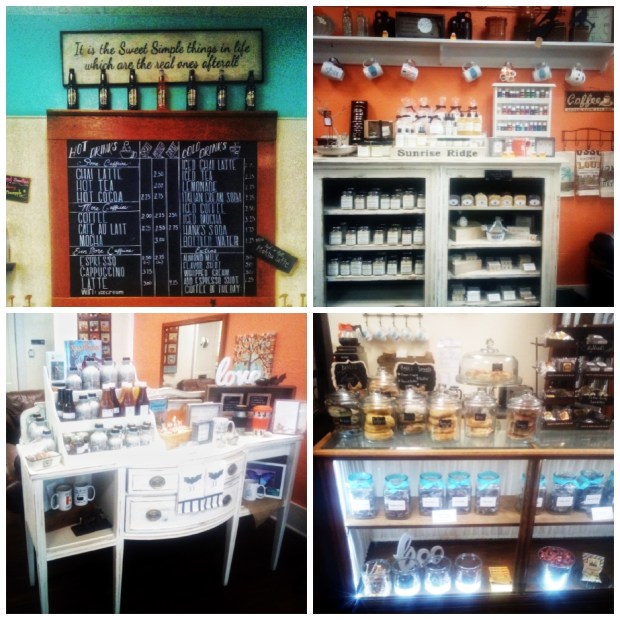
Grab a cup of coffee, and meander up and down Main St. You will happen upon a coffee shop, by the name of Cream & Sugar, which houses specialty coffees, pastries baked by a local artisan, Penn State Ice Cream, and various artisan goods, such as jams, jellies, syrups, local soaps, and candles.
A Shop-Local Paradise.
Next, you’re going to want to stop by Deb’s Candy Shop, a candy-land themed gem, just down from Olga’s, on Main St., which offers vintage, hard to find candy, and retains a classic small town candy shop charm.
Ooh, now that’s colorful!
Now, on to my personal favorite experience: The Eliot Ness Museum. The Museum is just getting started. Currently, the curator, Steve Green, is focused on vintage, prohibition era automobiles, posters of prominent figures of the prohibition era, and a few prime photos shot by local photographer Curt Weinhold, who was kind enough to take this photo for us:
This is clearly my new favorite pic of us. Photo courtesy of Curt Weinhold.
Enthusiastic about his museum endeavors, Steve, has a wealth of knowledge on the local vehicles that participate in the Eliot Ness Fest/ Vintage Car Show, which happens every July with costume contests, dances, and The Untouchables on the big screen. There are re-enactments in the streets, fireworks, and various activities throughout town. Cars of the era line the streets of Coudersport, essentially, turning it into a time capsule, according to Green. When you hear Steve talk about it, he makes you wish you hadn’t missed it. Rest assured, next year we will not. The museum, at the moment, is more of a sidewalk viewing museum, with the intention to create a much more interactive museum with a theatre and a collection of educational movies, developed by local author, Paul Heimer. If you stop by the museum on any given day, Steve is usually around, and seemingly, happy to keep you updated on the progress of his place. If you stop by on Oct. 5th, the re-enactment team will be on sight to greet you. Be sure to check it out!
The boys loved this!
If you are looking for a low key day trip, filled with Hollywood intrigue, glamorous vintage vehicles, a dash of gun violence in the streets, and small town charm, Coudersport PA, is the place to be. If you happen to go, tell us what you think in the comments.
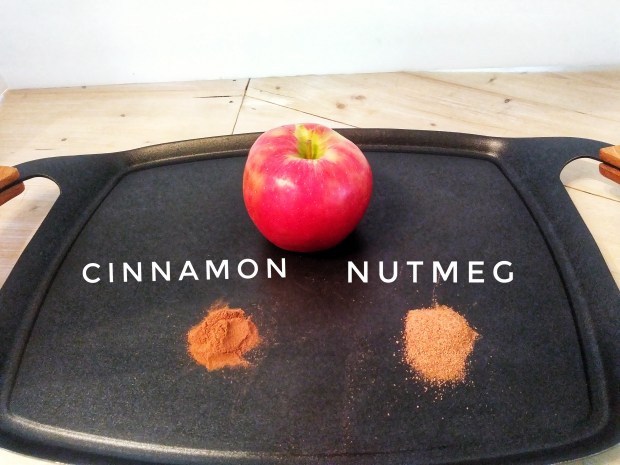
Breakfast at our house almost always comes down to one of two things; eggs or smoothies. However, with apple season in full bloom, and cooler temperatures in the morning, we felt the need to create something a little heartier to start the day out right. We’ve recently had some food allergy issues recurring in our home, hence the need for wheat and egg free muffins. I am not a baked goods person. Yet, on the rare occasion that I do eat something like a muffin, I prefer a coffee cake-like texture, with a strudel topping, but still, somewhat healthy. I’m aware that it’s a tall order, but these muffins fit the bill. I say “somewhat” because these muffins still have a stick of butter and probably more brown sugar than was necessary. I’ll let you decide. On the positive side they are loaded with apples, apple sauce, cinnamon, and nutmeg. While everyone knows that apples are good for you, are you aware that apples deliver a hefty dose of anti-oxidants, flavanoids, and phyto-nutrients? Not sure what the difference is? Anti-oxidants, help prevent cell damage, while phyto-nutrients are plant produced substances that essentially act as natural health supporters. Flavanoids, on the other hand, have anti-oxidant, anti-inflammatory, and anti-viral properties. Cinnamon has been used as medicine for hundreds of years. It is anti-microbial, anti-bacterial and anti-viral. It is known to improve blood sugar levels and purportedly can improve Alzheimer’s. Nutmeg is reported to be effective in fighting depression and anxiety, and improve brain function. Further, it has been used to prevent insomnia, relieve joint pain, and digestion. Like cinnamon, it is considered incredibly heart healthy, and is used to improve oral health as well. Sounds like a mouth-watering approach to improving your health, no?
Here’s what you’ll need for the muffins:
2 C. Bob’s Red Mill 1 to 1 Flour
1 tbsp. Baking Powder
1/2 tsp. Baking Soda
1/2 tsp. Kosher Salt
1/2 C. Butter
3/4 C. Turbinado Sugar
1 small packet Sugar-Free Applesauce
1 tsp. Butter flavoring
2 1/2 C. Chopped Apples
1/4 C. Club Soda
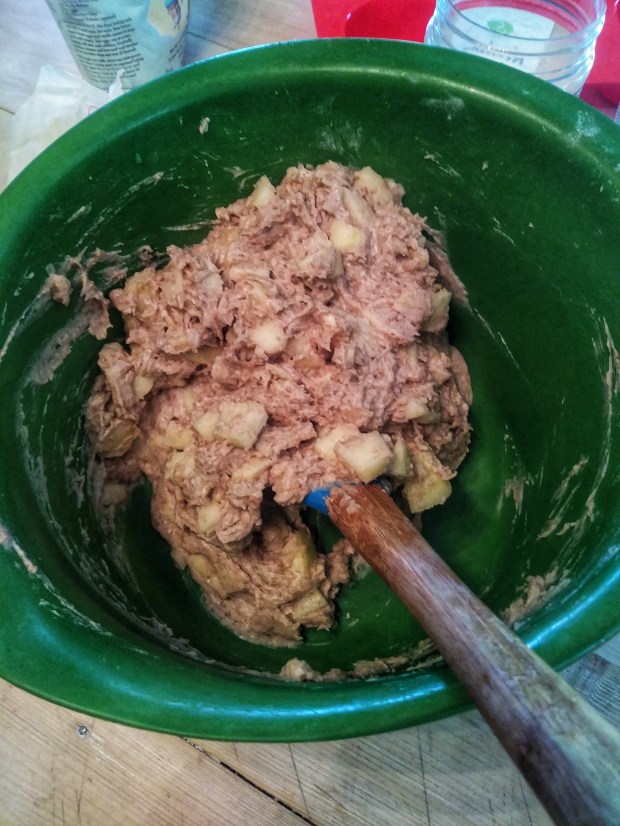
I could have chopped those apples a little smaller…
Preheat your oven to 375. In a large bowl, mix the dry ingredients, set aside, add wet ingredients to a smaller bowl, mix thoroughly, add to dry ingredients, combine, then add chopped apples, cinnamon, and nutmeg. Scoop into preferred muffin tins with ice cream scoop or measuring cup.
Strudel Topping:
1/2 Cup Packed Brown Sugar
1 tbsp. BRM 1 to 1 Flour
1/4 Cinnamon
1 tbsp. Butter
Mix the ingredients in a small bowl until crumble topping forms, spoon onto muffins. Bake in 375 degree oven for around 20 min. or until toothpick comes out clean.
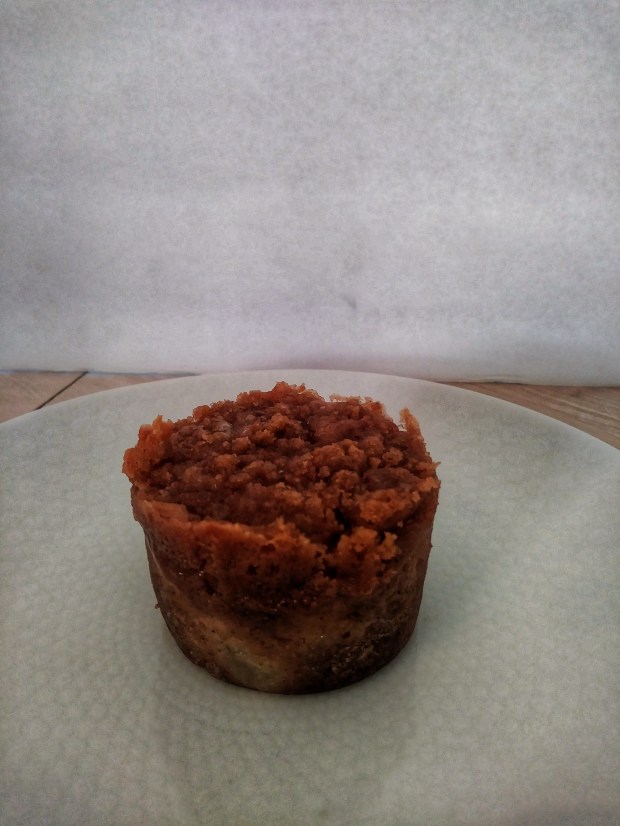
My favorite part is the crunchy streusel topping.
These muffins were definitely a hit in our house. If you are looking for a delicious, wheat free muffin, give these a try and let us know what you think of them. I believe I’m going to try them again shortly, with almond flour, to how that works out. Leave us a comment with substitutions or improvements. We are always happy to hear them:]
We’re going to use that lovely goldenrod going to seed in your side yard, to create a restorative, androgynous balm , that will leave your skin feeling vibrant, healthy and fit for fall.
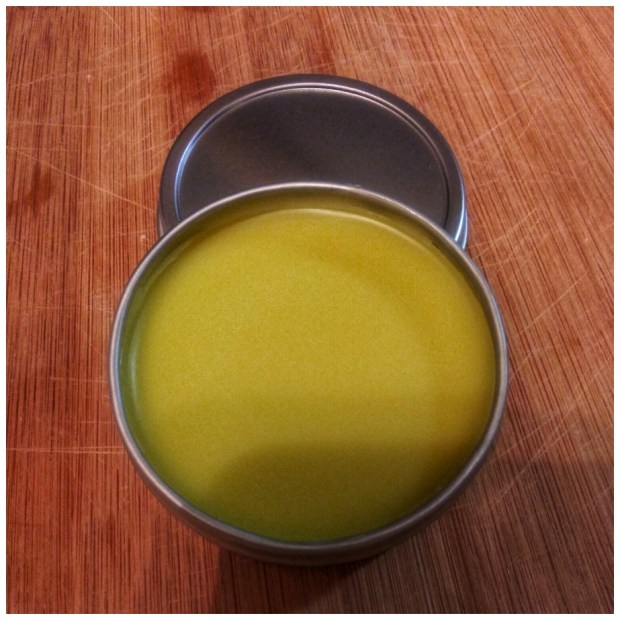
Food for your face.
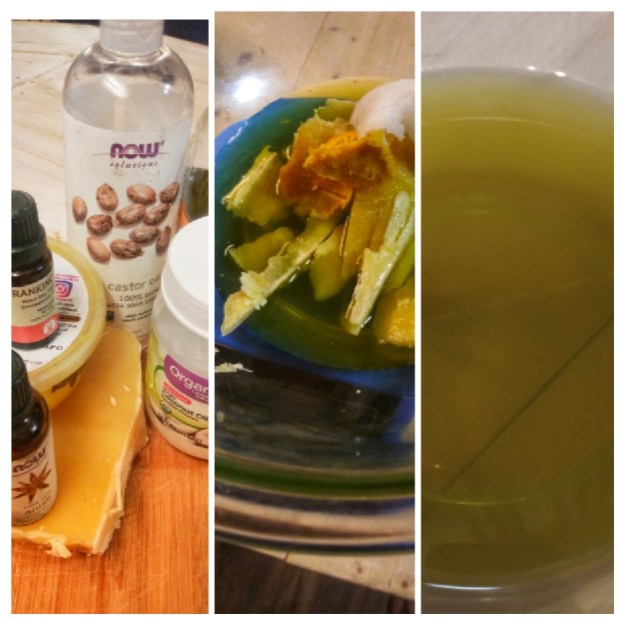
While we are, customarily, all about stimulating your appetite, today’s post is more about reinvigorating your skin care routine. We’re going to use that lovely goldenrod going to seed in your side yard, to create a restorative, androgynous balm , that will leave your skin feeling vibrant, healthy and fit for fall. This balm can be used either as a soothing, post-shaving salve, or as an anti-aging, moisture boost for tired, stressed out skin. It, likewise, for the ladies, has an added priming benefit underneath makeup. We are beginning with beeswax, and the following and the base oils: Olive for soothing cracked, irritated skin, Coconut for collagen production, Castor Oil to soothe razor burn, and Shea butter for restoring elasticity and calming inflammation. Goldenrod will be infused straight into the Olive oil for a burst of anti-oxidants. Did you know that Goldenrod contains 7(x) the anti-oxidants of Green Tea? That’s powerful prevention against cell damage. Now, we are going to add Frankincense essential oil, for it’s unflagging ability to stimulate cell growth. Then, a final but imperative ingredient, is Star Anise essential oil, which, due to it’s anethole component, is a great detoxification product. It, further, is proposed to have the ability to tighten sagging skin, due to tannins, and tone underneath, even at the muscular level. Added dividends include, it’s antiseptic properties, to prevent infection in those tiny shaving nicks and cuts, acne fighting properties, and ability to reduce discoloration and dark spots. The fragrance is a light spicy, herbal scent, with a hint of earthiness, notes of licorice and a bit of the mystical. It’s an appealing, nonchalant, scent for fall, that is gender-less. So, let’s get started, shall we?
Here’s what you’ll need:
A few sprigs of Goldenrod, fresh
3 oz. Olive Oil
1/2 oz. Shea Butter
1/2 oz Coconut Oil
1/2 Castor Oil
2 oz Beeswax (this makes a quite firm balm, if you prefer it softer, you can lessen the beeswax to your preferred consistency)
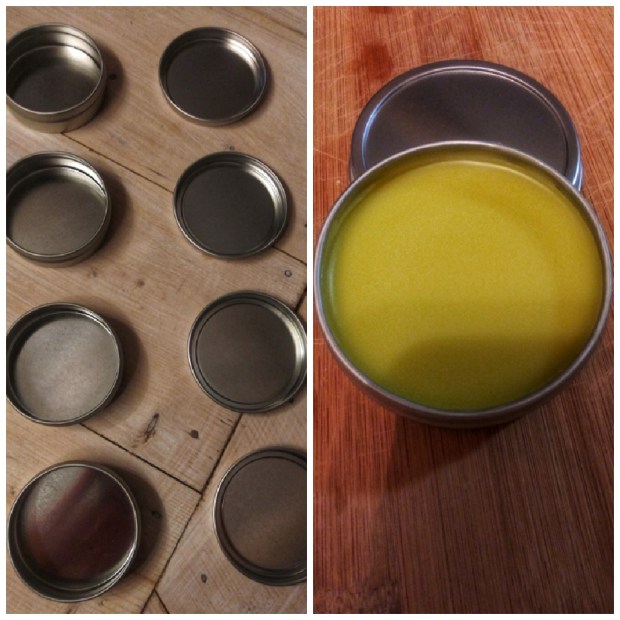
Clean tins or jars
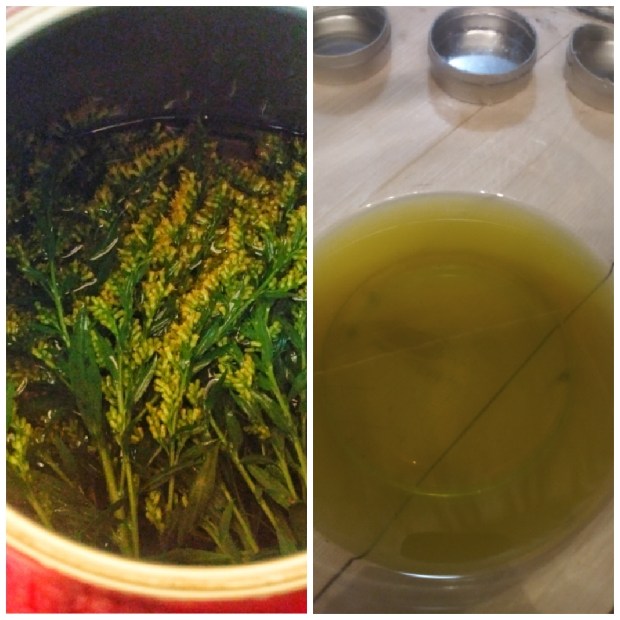
We’ll start by infusing the goldenrod into the olive oil. I used an old tea kettle. Set fresh goldenrod in kettle or pot, cover with olive oil. Heat gently until color changes. I started with light olive oil, a light yellow color, and finish when it turned a deep green. Let cool.
Look at all that lovely color!
Next, you’ll need a sanitized bowl, or double boiler, (don’t use one you intend to use for cooking in again), and a kitchen scale. Measure beeswax and oils into bowl for microwave, or into double boiler. Heat on low until beeswax is melted completely. Let cool for about 15 minutes. Add essential oils and stir, (make sure it’s cool enough to not evaporate the essential oils.)
This step should take about 10-15 minutes.
Pour into prepared and sanitized tins. Let cool and harden. Enjoy your finished product!
If you can still see the raw shea butter, that’s a good product!
Star anise oil and Frankincense work wonders over time. You will see marked improvement with the first use, but, you’ll notice the long term anti-aging, and healing effects with extended use. When you give it a try, share your reaction in the comments section. Did your skin feel rejuvenated? Look fresher? Do you have any goldenrod recipes that you love? If so, feel free to share.
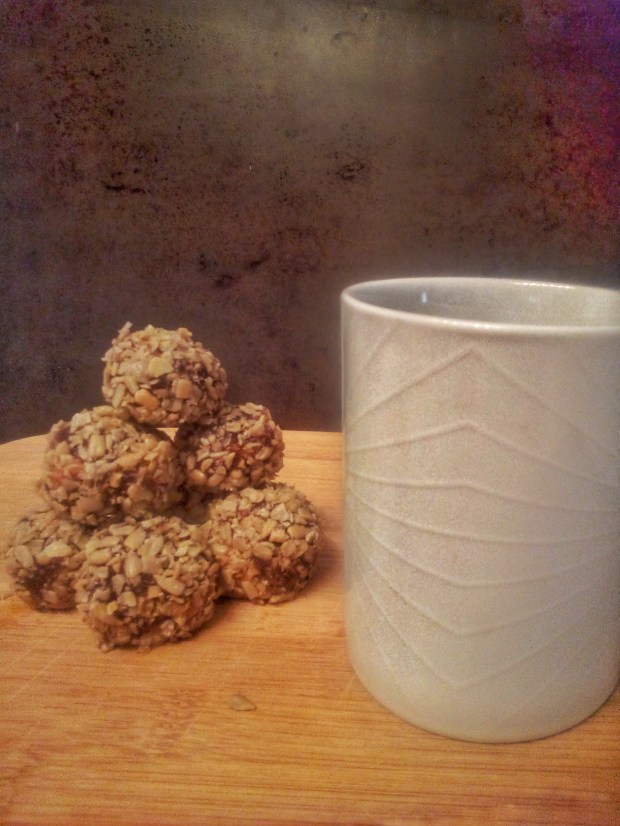
Inspired by Egyptian date candy, which dates back to around 1600 BC, the original recipe was reputed to have been found on a pottery shard, or ostraca. As the small one has been fascinated with Egypt recently we have made a point to learn about Egyptian cuisine as of late. He, of course prefers reading about mummies and curses to scouring recipes, but I feel that food can be a fantastic tool to keep them learning about various cultures. When you use the local flavors of the region regularly, you can then pique a continued interest in the regional food preparation techniques, farming, archaeology, anthropology etc, of that region. Which brings me to this recipe; (when dealing with kids it’s always wise to start with sweets) First, I’ll give you the original which can be found in much detail here, and then follow with our version.
This is the recipe that inspired our recipe:
1 cup of fresh dates
1 tsp cinnamon
1/2 tsp cardamom seeds
1/2 ground walnuts
warm honey
fine ground almonds
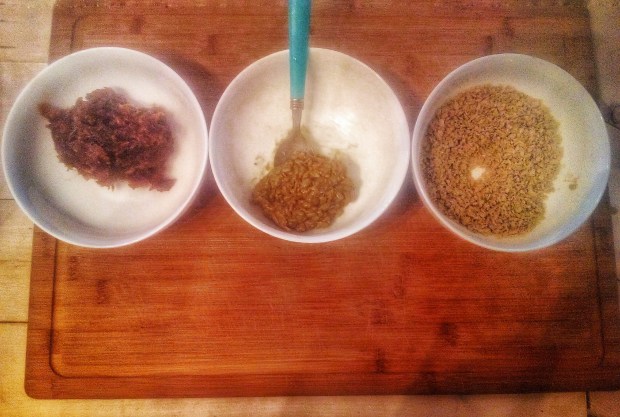
Our ingredients list is a little different, we used Peanut Butter and Chia seeds in lieu of walnuts, and sunflower seeds in lieu of almonds. This may have been, frankly, because I was too lazy to drive to the store but, the result was delicious, interesting and unique.
For the date paste, here’s what you’ll need:
1 cup of dates, dried with pits removed
1 tsp honey
1 tsp. cinnamon
Soak dates in warm water for a few minutes, drain, and add cinnamon and honey, kneading into a dough.
For the filling:
Mix together in bowl until a sort of dough forms
1/4 cup peanut butter
1/4 cup sunflower seeds
1 tsp chia seeds
For coating:
Grind 1/2 cup sunflower seeds in food processor until fine. Set aside in bowl.
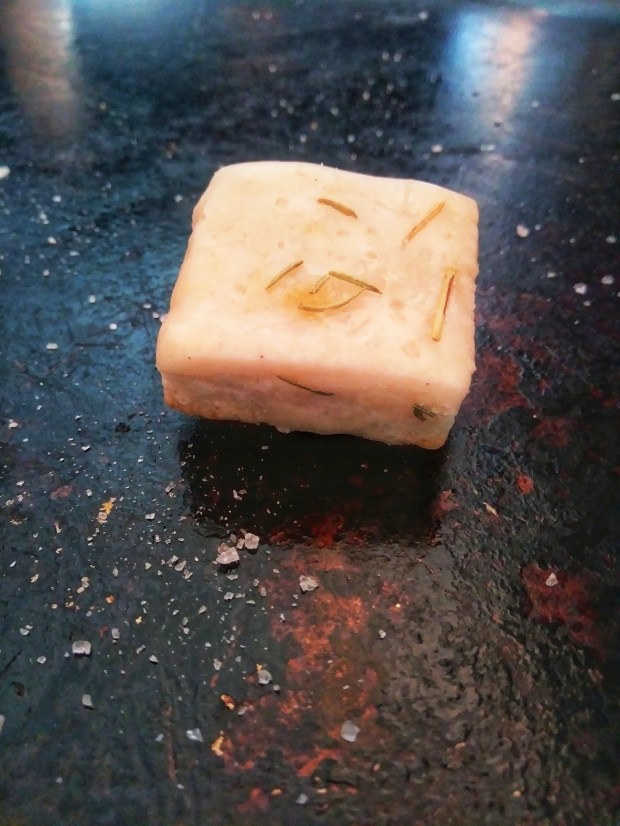
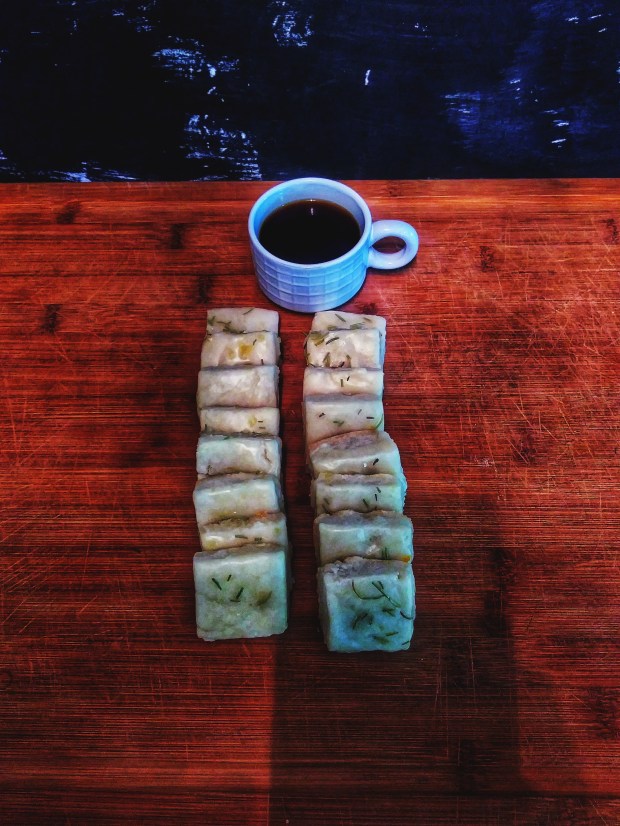
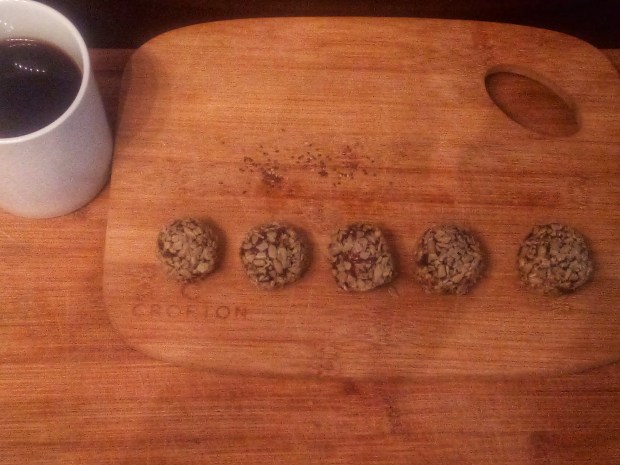
To form candies, wet your hands with cool water, roll filling into a small ball form, wrap with date paste, and roll in ground sunflower seeds. Set it on a parchment or silicone baking mat to harden a bit.
That’s it. Pretty simple, but a brilliant way to quell your sweet tooth, with something nutritious. This is also a delightful recipe to whip up for unexpected company, it’s very quick and works beautifully served with strong brewed coffee for guests. Do give this easy, healthier candy recipe a try and leave your thoughts in the comments and we’ll get back to you. Thanks for following!
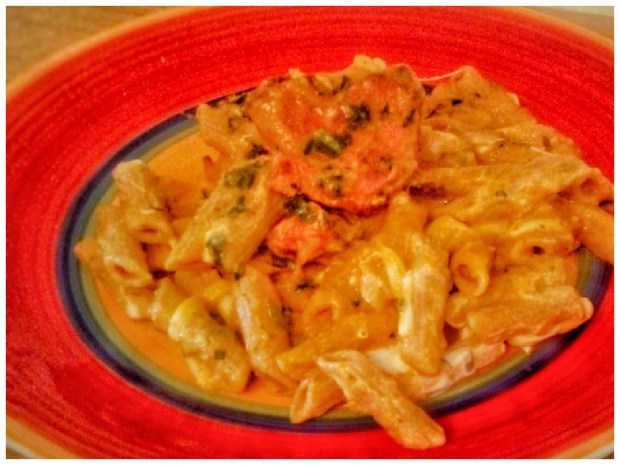
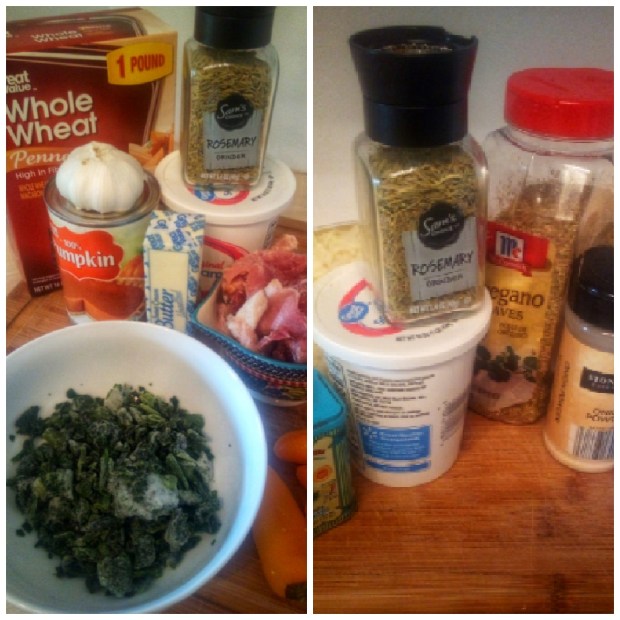
We’ve noticed fall is sneaking up on us around here, ever-so slowly, and with the turning of the leaves will probably come a change in lifestyle as the warm trades off for the cold. Our activity might lessen, keeping us indoors more often. As this happens we feel it’s more important than ever to find the motivation to eat healthfully. While we are not ready to concede summer, we are somewhat receptive to a nod toward early fall flavors, though we won’t be getting chummy with pumpkin spice any time soon. With that in mind we’ve whipped up this pasta dish to ward off the autumn blues while embracing the oncoming oranges and reds.
As we know, pumpkin is loaded with antioxidants and fiber. It keeps you feeling full longer, improves your blood pressure and keeps you balanced. It’s also great for eye health, and a stronger heart. Rosemary has as many great benefits, such as non-inflammatory properties and can help you reduce stress. It improves memory and can also boost your immune system, which can be a great thing when the weather turns colder and viruses abound. These ingredients make for an easy, healthy dish which is effortless to throw together after work and likewise tastes amazing when paired with whole wheat pasta, which is high in copper, selenium, and magnesium. Toss in some leafy greens, and onions and you have a delicious and healthful dinner, which might leave you feeling friendlier toward the oncoming colder weather.
Here’s what you’ll need:
Whole Wheat Penne
1 can of pumpkin
3 cloves of garlic
1 cup of cooked ham
1 cup of spinach/kale
1 cup of whole milk or heavy cream
1/2 cup chopped yellow peppers
1/2 cup chopped onion
1/2 cup mozzarella
1 stick of unsalted butter
1 tbsp fresh or dried rosemary
1 tsp garlic powder
1 tsp onion powder
dash of paprika
dash of cumin
Start your pasta water first so it’s ready by the time you’re done with the rest of your prep. Toss a stick of butter in the pan, add chopped garlic and add slow heat until it’s browned. By now, the pasta water should be boiling, add your penne. Toss peppers and onions into the skillet, cook until almost tender, add ham. Add can of pumpkin into warm butter, stir, add milk or cream stir thoroughly. Toss your finished pasta into skillet with peppers and ham, and mix it well. Add rosemary to pumpkin sauce, then garlic and onion powders. Stir. Add dash of paprika and cumin. Next pour the pumpkin sauce over pasta in the skillet, swirling in sour cream and top with mozzarella. Heat through and serve. For us, this made about six servings.
If you’re also a fan of fall flavors, give this easy pasta dish a try and let us know what you think of it. Any suggestions or adjustments are also welcome. Thanks for following!
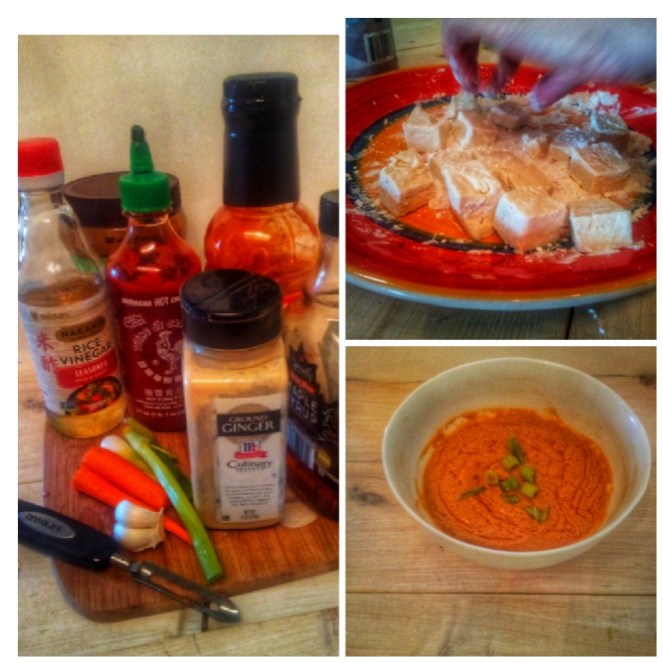
Over the weekend we met with friends that we hadn’t seen in a while. We find ourselves at a stage in life where we often prefer staying in, noshing on delicious food, enjoying great conversation and perhaps a few specialty brews. My husband’s cousin was in from Chicago. She happens to be one of my very favorite people. Every now and then you are lucky enough to come across a person who you just click with and it’s relaxed and effortless: as she’s one of those people, we always have a great time. When she comes to town, she stays at a fly-in B-&-B nearby that has an outdoor patio that was just made for chillin’ with friends, so we meet up there as often as we can. We all share a love of food and travel, so we always have plenty to talk about, and we try to have interesting food available when we get together, which is how we ended up standing around a counter laughing and nibbling on the array of choices that she brought from a deli in Chicago. Sadly I didn’t catch the name of it. I’m not a huge fan of Dolma, but these were delicious. We also tried a carrot salad, that was tangy, pungent and amazing. But my absolute favorite was the aptly titled Spicy Peanut Tofu; I had to stop myself from eating the whole container. The peanut sauce was bitey and lavish, each bite combined with the silken texture of the tofu made for a little square of happiness (and soy). As is our way in this house if someone eats something fantastic we can’t help but brag tell each other about it, therefore I described it to the boys when I got home and we decided spot on that we would take a shot at replicating it for our next post. So here goes:
You’ll need:
For the sauce: Peanut Butter, Mirin, Thai Chili Sauce, Soy sauce, water, maple syrup, garlic and ginger.
Thin out your peanut butter with some water, about an 8th of a cup. Mix this until your PB is thinner and add the Mirin, soy sauce, Thai chili and maple all together into the PB and stir. Boom, spicy Thai peanut sauce. Don’t forget to add the garlic and shredded ginger for that extra bite if you’re so inclined.
For the Tofu: I prefer crispy tofu, so that’s what I did here. Drain as much liquid as possible from the tofu block. Chop into cubes. Dust with cornstarch. Heat oil in a frying pan. Fry tofu until brown and crispy. This takes a bit of time. Add peanut sauce. I also tossed in some shredded carrots. Top with spring onions. We served it over rice; because we decided on crispy tofu, the texture was different than the deli version, I won’t say better, but just as good.
So what do you think? Do you love anything in peanut sauce? Have you made peanut sauce before? When you try it, drop us a line and let us know how it went, or maybe any adjustments you’ve made. We would love to hear it!
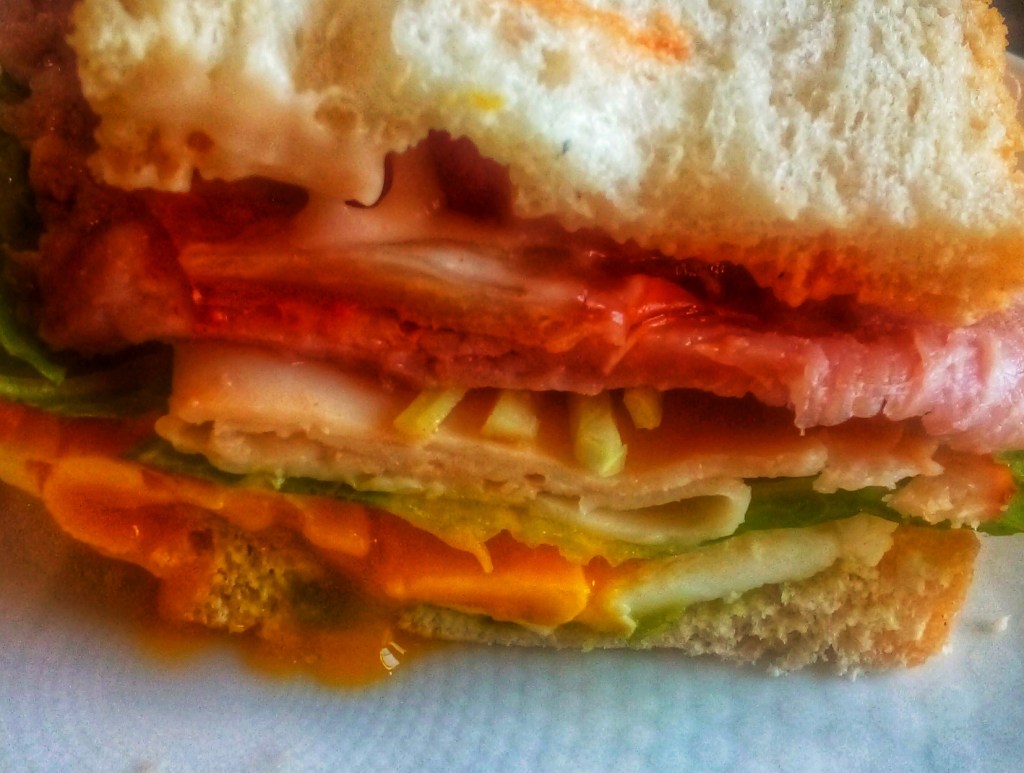
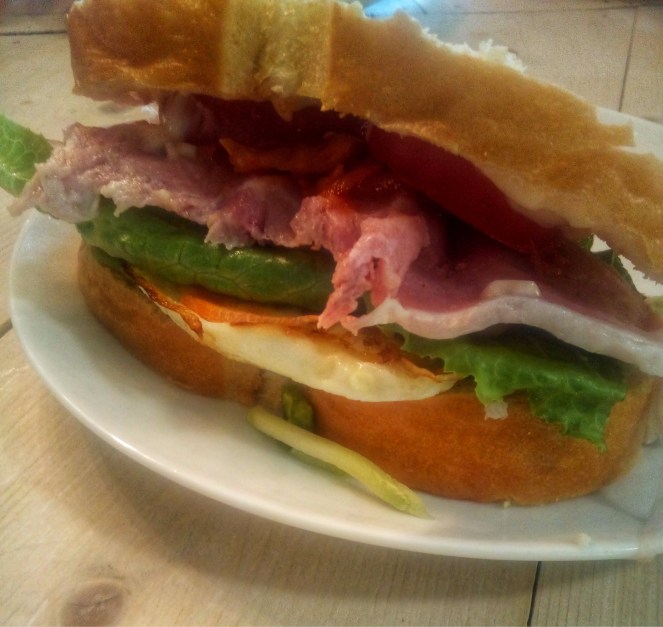
I am not much of a sandwich person. I live with five men though. They definitely Looove a good sandwich. I can sometimes get stuck in a rut of salads, rice dishes, and noodles for weeks on end. The five men don’t love this. Every now and then they just wanted something simple but good. With meat. Enter: Wanpaku.
A meaty, savory, gooey, delightful stack of Asian sandwich ingenuity.
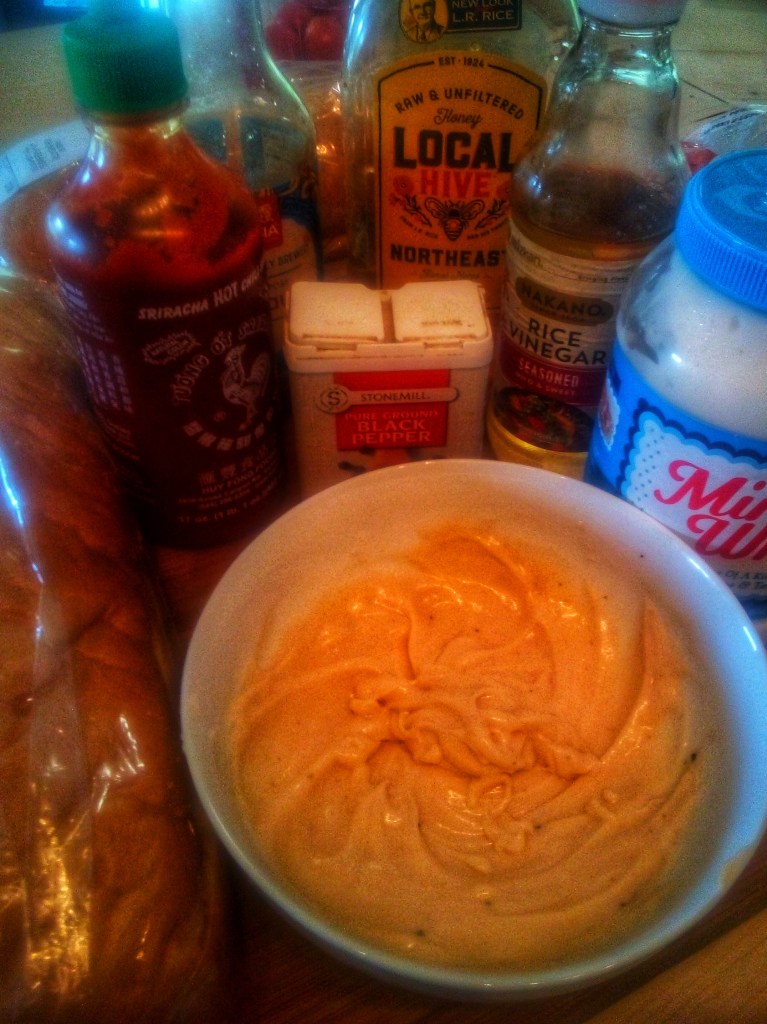
First things first, we’re gonna whip up the Honey Sriracha Mayo:
Six easy ingredients. Mayo, Honey , Mirin, Soy Sauce, Sriracha, Black Pepper.
1/4 C. Mayo, 2 tbsp Honey, 1 tbsp, Mirin, 1 tbs. Soy Sauce, Sriracha to taste, Black Pepper to taste. Whip together with whisk. Done.
Next, gather your sandwich ingredients. We used Italian Bread, Ham, Teriyaki Chicken, Romaine, Tomatoes, Broccoli Slaw, Avocado, Kimchi, Red Peppers and Fried Eggs. It’s hard to keep this sandwich level, usually it’s wrapped in parchment paper to keep it together. We usually do this, but we were hungry, and skipped it this time. If you skip this step you will wrestle with the sandwich the whole time you are eating it. But if you inhale it like we did..? Not as much.
You can definitely spend tons of time and energy putting together a picture perfect sandwich for each family member. We tried this a couple of times and only a select few sandwiches were photo-worthy, so this is a simple recipe for sandwich beginners, but can take some trial and error to master. Perhaps we’ll take a crack at this again after our ‘wanpaku game’ improves.
Unlike one of the previous sandwiches we made, this one won’t kill you so be sure to give it a try. Did you slap something other than ham and kimchi on that sucker? Did you even get it to your mouth before it fell apart like ours? Leave us a comment or maybe send us a pic of it!
Do you speak Spanish? I don’t, so I had to have Google translate the title. A little back story here: Yesterday we took a day trip to Buffalo NY, not gonna lie, it was, again, for the food. Donuts this time. You see, we had just gotten word that our local Cider Mill was not going to open this season, as it has consistently done for more than 40+ years each September for apple season. This place is a gem, selling fresh made donuts every morning and cider pressed on site. I grew up just down the road from this place. Some of my fondest fall memories are centered here, riding bikes with friends, with whatever meager funds we could manage scrape up between us, for hot, fresh doughnuts straight out of the oven. Heaven. Long story short when we got the sad news, we went a little crazy. We hopped in the car and drove to Buffalo, to Paula’s Donut’s. Have you ever been to a Paula’s? 10,000 calories…Worth it. Then we headed on to Niagara Falls, because a couple of the boys had never seen it.
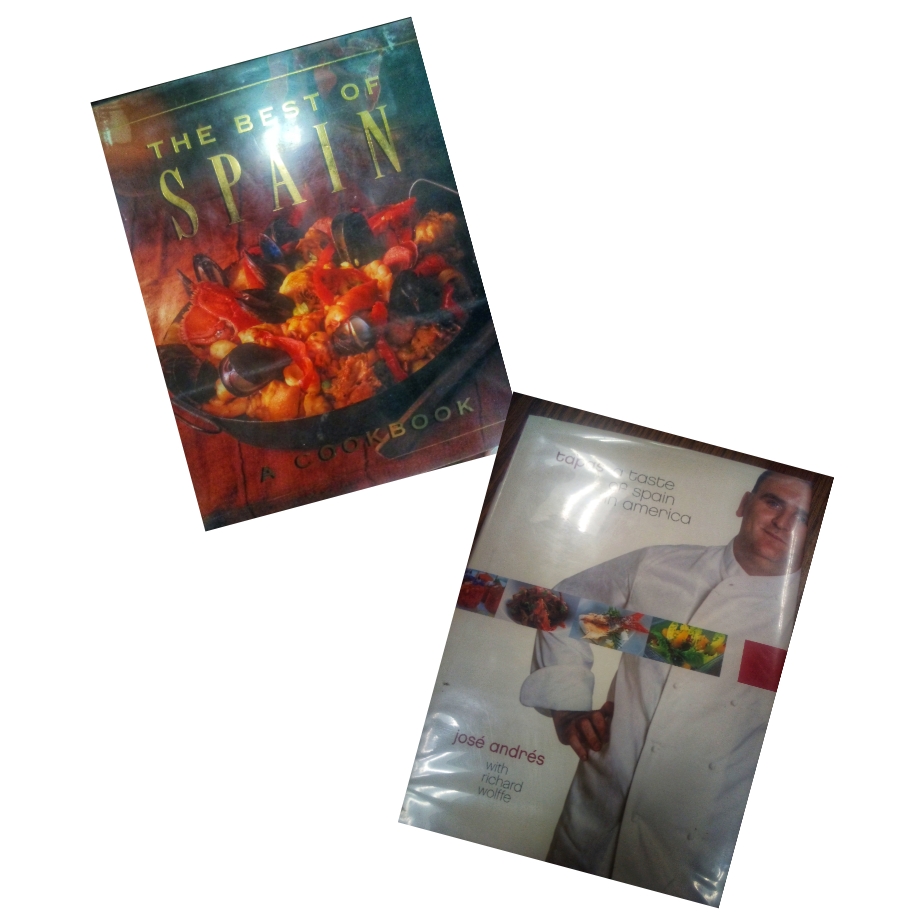
After doing a fair bit of walking around Niagara Falls we convinced ourselves that we had burned off the donuts, and since our kids had never eaten at Ted’s Charcoal Hots, we indulged in the most unhealthy meal in existence: chili dogs and onion rings. Looking back, I get ill just thinking about it. We never eat like this. The boys were begging for a detox all the way home. It used to be, when they were younger, I was the one begging them to eat healthier. Now the tables have turned and they will guilt, remind me to eat healthier if they feel we’ve overindulged. This is is simultaneously inspiring and annoying. But this post is not about donuts…or, God forbid, chili dogs, it’s about salad. Green salad. The green salad that my boys asked for. Since it was their ask, I let it be their recipe. We have this little game that we play called Spin the Globe. Sometimes when we are feeling uninspired by history lessons we will spin the globe and let the small fry put his finger one it, and the region it stops on is the region that we learn about that day. So we decided to put this to use with cuisine as well. So we spun the globe. It landed on the border of Spain and Portugal. They chose Spain and we were off. To the library, where we perused shelf after shelf of recipes books. We leafed through many and settled on these two.
After getting a feel for the flavor profile we decided a green salad with shrimp, patatas bravas and seared olives was the way to go. Then we just tossed in some extras, whipped up a super easy olive oil, lemon and garlic dressing, and dove in.
Here’s how to get started:
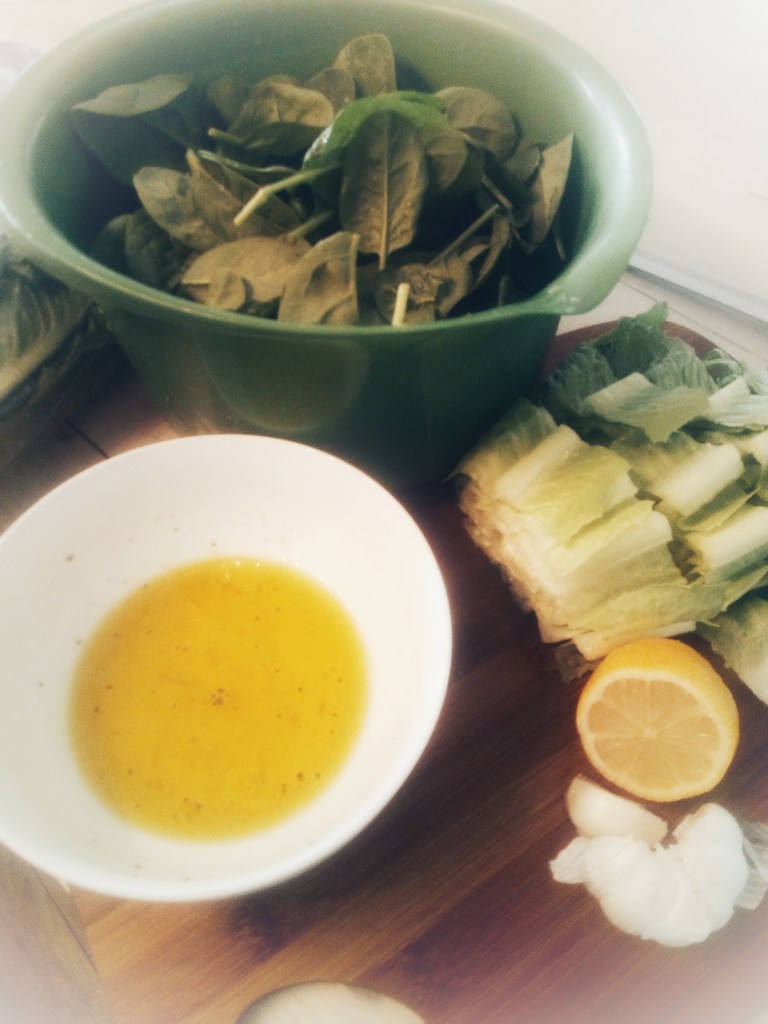
Gather greens, tomatoes, Asiago cheese, 3 or 4 eggs and red peppers. Put eggs in pan to boil.
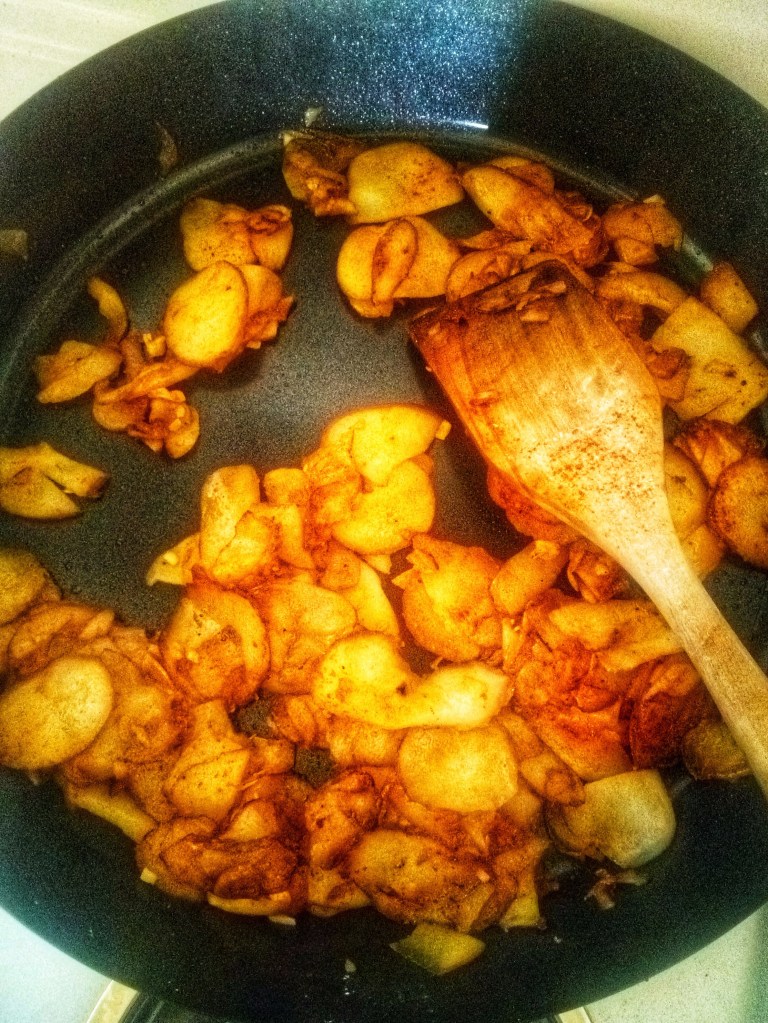
For potatas bravas you’ll need:
Potatoes, olive oil, tomato sauce,garlic, paprika, crushed red pepper, black pepper parsley,
Toss some olive oil in a hot skillet, about 2 tbsps. Slice some potatoes, thin cut. I used a hand slicer. Cook them until brown and crispy. Add 2 tbsps of tomato sauce and dose heavily with paprika. Chop some garlic, throw in pan with potatoes, hit up with a bit of crushed red pepper, salt, black pepper and parsley, fresh or dried works.
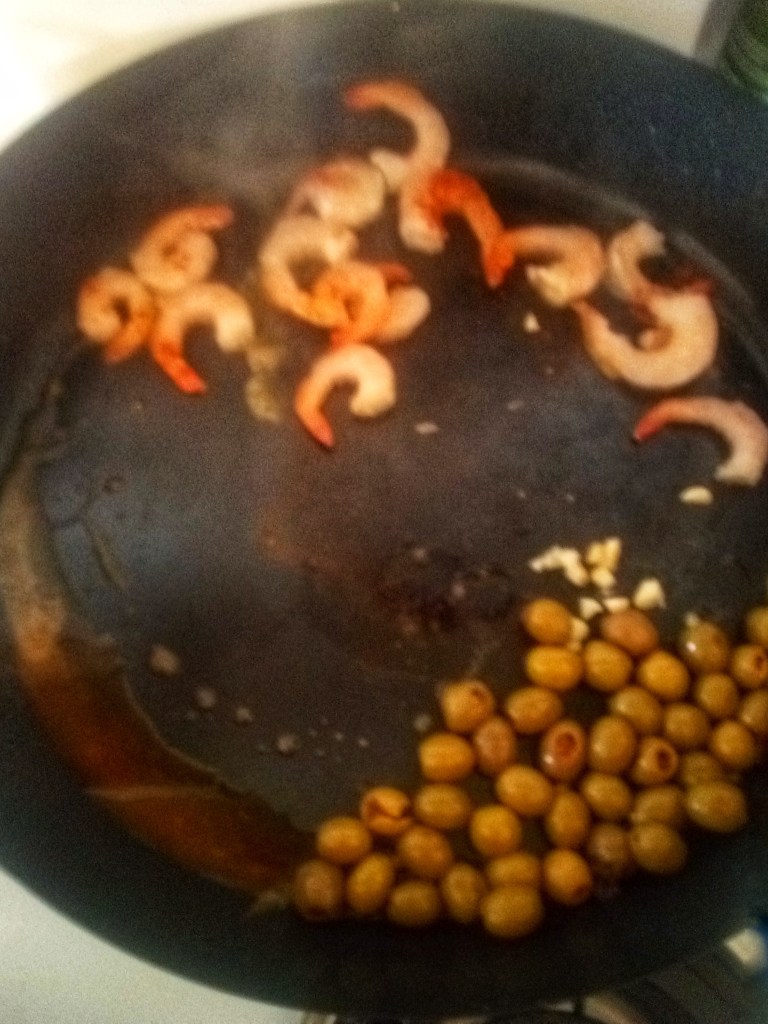
For the shrimp and olives you’ll need:
Shrimp, fresh or frozen, olive oil, lemon, paprika, black pepper
Next, throw olive oil, olives, a squeeze of lemon, spanish paprika , and black pepper into a hot skillet cook for a few minutes then toss in shrimp, sear, and finish with a squeeze of lemon and a dash of spanish paprika.
Next, Toss some greens in a bowl, we used baby spinach and romaine. Then pour a half cup of olive oil into a bowl or salad dressing shaker add, two cloves of garlic, chopped finely, whip or shake, squeeze two lemons and add to dressing. Set aside. Slice red peppers.
Layer greens, potatoes, olives and shrimp in a bowl. Top with tomatoes peppers and egg slices. Drizzle with lemon garlic dressing. Grate Asiago generously over top. Dig in!
Tell us what you think of this easy throw-together salad. Whether you’re the kind of person who binges junk for a day or two and then takes a veggie break, or maybe you just need a fresh spin on your every day salad, this should put a smile on your face